
Connecting an HTML form to Google Sheets can streamline data collection, but it often requires server-side code or complex integrations. With Sheet2DB, you can effortlessly link your forms to Google Sheets, allowing you to handle data submission directly from the client side.
In this tutorial, you'll learn how to connect your HTML forms directly to Google Sheets using Sheet2DB. We'll walk through each step, from setting up your API to customizing your form fields and adding security measures like captcha. By the end, you'll have a fully functional form that submits data to your Google Sheets.
Step 1: Set Up Your Sheet2DB API
Before creating the HTML form, you'll need to set up an API using Sheet2DB. Here’s how:
-
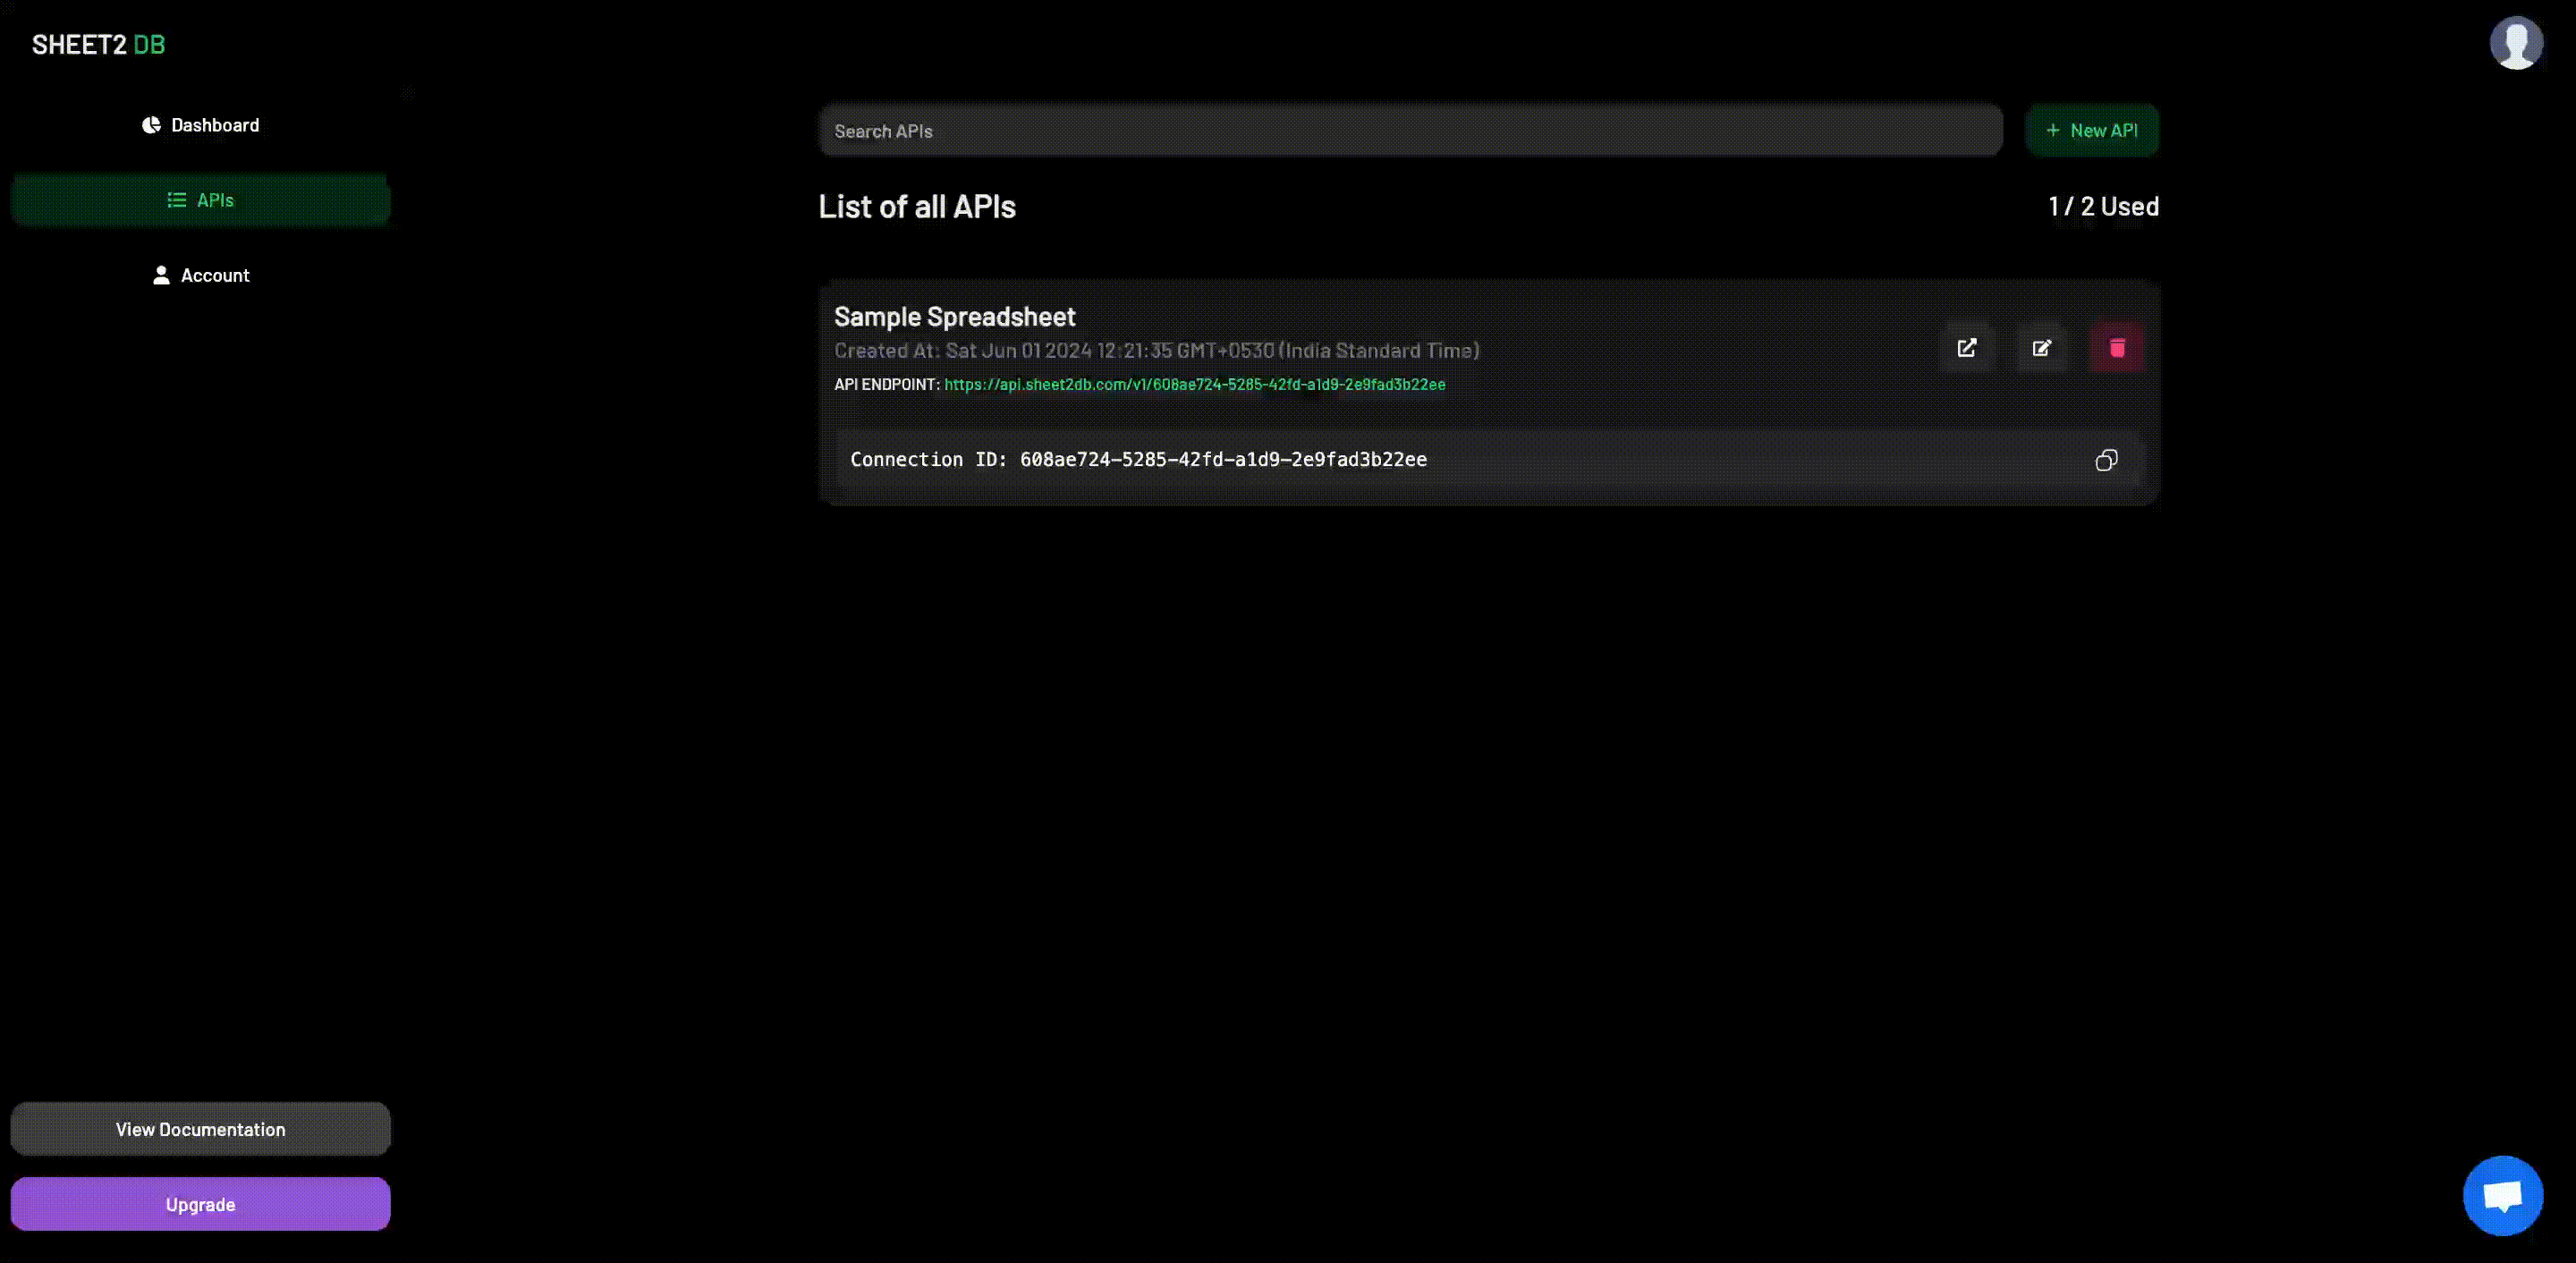
Create a New API: Log in to your Sheet2DB account and create a new API. Select the Google Sheet you want to connect to.
-
Configure API Settings: Once your API is set up, enable
UPDATEpermission on the API.UPDATEis required to POST data to the Google Sheet from the form.
Step 2: Use the Form Builder to Generate Your Form
Sheet2DB provides a handy Form Builder that generates HTML forms based on your Google Sheet's column titles.
-
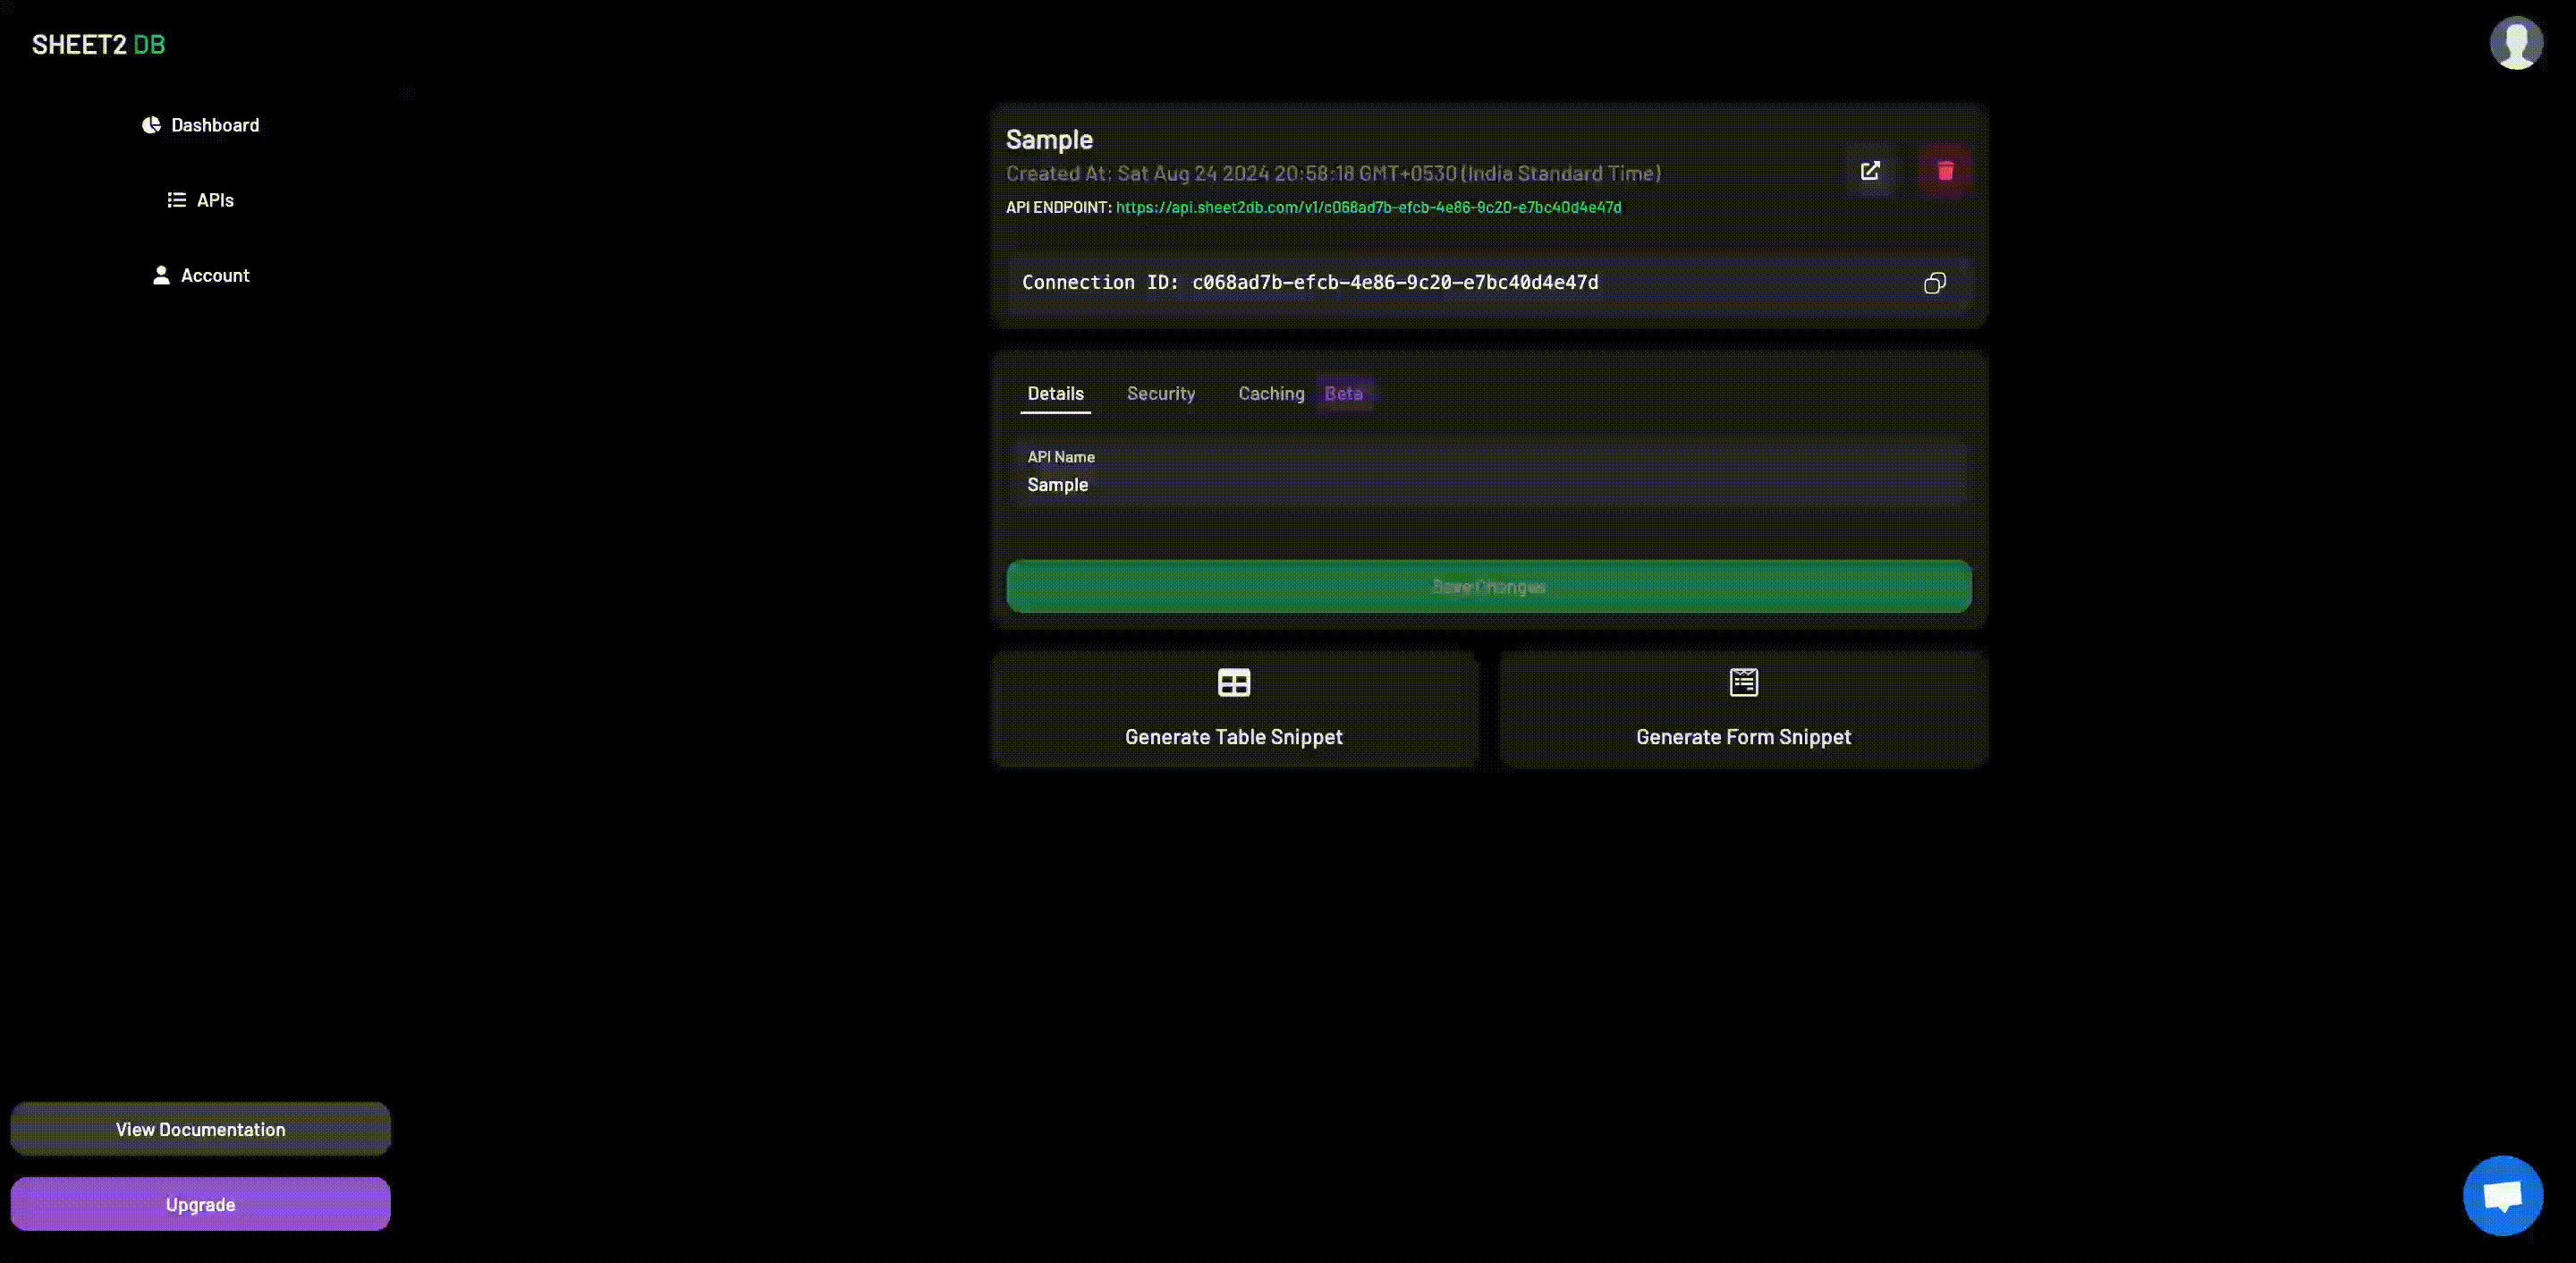
Access the Form Builder: Navigate to the Form Builder tool in Sheet2DB by clicking "edit" on the API and then selecting "Generate Form Snippet".
-
Select Your Google Sheet: Choose the sheet you want to use. The Form Builder will automatically pick up the column titles as form fields.
-
Customize Form Fields:
- Visibility: Choose which fields should be visible in the form.
- Required: Choose which fields are required in the form (This will be a client side validation).
- Placeholders and Labels: Set custom placeholders and labels for each field.
- Input Types: Select the type of input for each field (Text, Number, Email, Dropdown, Date).
- Dropdown Options: If you choose the Dropdown type, enter the options as a comma-separated string.
-
Form Settings:
- Success Message: Set a custom message to be displayed after form submission.
- Submit Button Label: Customize the label on your submit button.
Step 4: Generate the HTML Code
Once you've configured your form, the Form Builder will generate the HTML code for you.
-
Copy the HTML Code: The generated code will include all your customizations, including the API ID, success message, and captcha configuration.
-
Embed in Your Website: Paste the HTML code into your website's HTML file where you want the form to appear.
Step 5: Test Your Form
After embedding the form, it’s crucial to test it to ensure everything works as expected.
-
Submit Test Data: Fill out the form with test data and submit it.
-
Check Google Sheets: Open your Google Sheet and verify that the submitted data appears correctly.
-
Adjust if Necessary: If there are any issues, revisit the Form Builder or API settings to make necessary adjustments.
Add Captcha for Security (Optional)
If you want to add a captcha to your form to prevent spam submissions, follow these steps:
-
Set Up Captcha in API: In your API settings on Sheet2DB, enable captcha (either Google reCAPTCHA or Cloudflare Turnstile).
-
Enter Captcha Site Key: In the Form Builder, there will be an option to enter your captcha site key. This ensures that only legitimate submissions are accepted.
Conclusion
Using Sheet2DB’s Form Builder, you can quickly create a custom HTML form that submits data directly to Google Sheets. Whether you’re collecting contact information, survey responses, or any other data, this method is efficient and easy to set up. Plus, with options like captcha, you can ensure your form remains secure.
Now you’re ready to embed powerful, data-collecting forms on your website with ease!